Showing posts with label Stencil. Show all posts

Wednesday, March 18, 2015

Mail Art Made Easy with Copics

Hello gorgeous Copic Oz fans, today I'm going to show you how to create a beautiful piece of mail art that's almost too pretty to send!  This is a great way to create custom envelopes and really impress your postie, plus it's a simple way to reuse some of your own art to make something new.  If you don't want to make your own, there are an amazing array of beautiful stencils and masks on the market these days and this technique is versatile enough to look amazing with most of them.


You Will Need:

  • Copic markers:  Y06, BV11, B02, BG05 & RV06
  • Copic Various Ink: Colorless Blender
  • Copic Multi Liners: 0.3 & 0.5
  • AtYou Spica: Turquoise, Clear and Pink
  • Fab Scraps Stencil: Stars
  • X-Press It: Blending Card and Mask It film
  • Mini Mister bottle filled with Colorless Blender
  • Black acrylic paint or gesso


Instructions

You can watch this being created on our YouTube channel or follow the instructions below.


Step 1: Gather some bright colour Copic markers, your favourite paper and Mask It film.
Fold card to create envelope.


Step 2: Cut a speech bubble shape out of Mask It film and adhere to envelope.


Step 3: Using an Airbrush add BV11


Step 4: Add Y06


Step 5: Then add B02


Step 6: Add RV06


Step 7: Finally add BG05 to cover any remaining white areas.


Step 8: Lay star stencil over envelope and spritz with Colorless Blender, allow to dry.


Step 9: Draw design onto Mask It film (if drawing your own design make sure to
REVERSE it so your design turns out the correct way), cut out and apply to envelope.
Paint over envelope with black gesso or acrylic paint.


Step 10: Allow paint to dry for approximately 2 minutes and then carefully remove mask.
You will notice there are a few areas that need a little smoothing or filling in.


Step 11:  Use Copic Multi Liners and Spica pens to fill in gaps, decorate and address envelope.


Once all the edges are smoothed and a little extra colour added, your unique mail art envelope is complete and will look something like this.


I'd love to see if you create any mail art with your Copic markers, please share your art on the Copic Australia Facebook page.

Back with more soon,
Kate

Pin It

Wednesday, January 7, 2015

Copic Mixed Media Journal Page

Today I will be using a few supplies from my X-Press It and Copic hoard to create a bright and happy journal page, using my 'word' for the new year!  


You will need:
  • Copic Markers: N9, N7, N5, N3, RV06, RV09, RV69 & Blender '0'
  • Copic Airbrush System
  • Copic Opaque White Paint
  • AtYou Spica Pens: Turquoise & Lavender
  • Molotow Paint Marker: Signal White EF, Shock Blue, Currant & Skin Pastel
  • X-Press It Mask It 
  • FabScraps Stencil - DS003
  • Bruynzeel Aquarel Pencils (watercolour pencils)
  • Assorted Stamps


Here's how I made it.


Gather a bold stencil, I used a pretty flower stencil from FabScraps, some favourite Copic Multi Liners for outlining and X-Press It Blending card or Blending Journal.  Using pale grey, print the word Bloom onto your page or card (for more lettering tips have a look here) using a printer.

Trace over the outline of the word with Black 0.5 Copic Multi Liner.


Place the stencil/mask at the top right corner of the page, using scrap paper to protect the rest of the area.  Use an airbrush to add RV06 all over the stencilled image.

 Swap to a darker colour, RV09 and add colour the the outside three rows of petals.

For the final colour select something even darker, I used RV69 and add colour to the outside row of petals only.

Repeat these steps, until the entire page is covered with stencilled flowers.

Use the Molotow white paint marker and Copic Opaque white to colour the printed word.
Outline letters using N9, N7, N5, N3, the greys will create a subtle outline.

At this stage you will have something a bit like this, you could leave it there,
but I had to add a little extra.

Using Memento Tuxedo Black stamp a few images onto the page (roughly mask the word with Mask It before stamping).  Use Bruynzeel Aquarel pencils to add a hint of green to the stamped leaves and black to create a shadow around the figure.  Blend with a waterbrush and let  dry.

 For a little extra pop use a Molotow paint markers to colour the skin, and also as a wash (mixed with water on a palette) to add a hint of colour to the wings.
For some sparkle add a touch of Spica - or a LOT.

Finish by adding a hint of white to the wings and leaves for contrast.

The end result looks like this - I love how the original stencil pattern recedes or pops forward depending on the placement against the stamp!


So grab those Copics and your favourite stamps and stencils and have a play!

Wishing you all a wonderful 2015 - Happy New Year!

Kate

Pin It

Wednesday, August 6, 2014

Stendoodling with Copics

Today I'm back with another project using my much loved Copic products and some simple doodles.  Now this is a wonderful place to begin for anyone who is new to doodling or colouring with Copics, all you need are a few stencils, your favourite colours and a little time.  The reason that this is so great for beginners, is that this project uses a technique called Stendoodling.  What is Stendoodling?  Well to create a Stendoodle you use a stencil or mask to create a shape (eg: a feather), you then use another stencil to create sections within that shape (eg: sun rays) and finally, use smaller stencils (and a fine marker) to create patterns (doodles) within each section.

For this card you will need:

  • Copic Markers: RV11, RV17, RV25, V16, YG23, R17, YR15, YR16, Y11, Y15, B04, B16, BG13, BV08, E13, V05, N1 & N3
  • Copic Multi Liners: 0.05, 0.3 & 0.5
  • X-Press It: Blending Card and Double Sided Foam Tape
  • Hazel & Ruby - Fat Roll Washi Tape - Colorblock Quotes
  • Assorted stencils


Gather your favourite supplies, I've tried to choose colours from the same ring of the Copic color wheel - this way I know they will work well together.


Draw outline with Copic Multi Liner 0.5, add sections using stencil and Multi Liner 0.3 and finally add the fine detail inside each section using Multi Liner 0.05


Pick a section and colour using Copic markers in RV11 and V16, this wasn't dark enough so I went over the pale RV11 with RV17.


Pick another section and colour with YG23 and RV25 - these colours make eachother 'pop'.


Next add YR16 and B16


Next add a little mint with BG13 and E13


Time for some 'hot' colours with R17 and YR15


Next add BV08 and Y15.


Now a few more bright colours, BG13 and YG23 (you may notice I've used both of these before in other colour combinations).


Add in a little V05 and Y11 - colour carefully as too many slips will make the pattern muddy.


Add in YG23 and RV25.


Next add B04 and Y15 to your final section.


To lift the image from the card a little I have used N1 and N3 to outline one side of the image, this adds a little depth to the image, if you need a little help with this have a look at the Cast Shadow post.


Cover base card using strips cut from the Fat Roll Washi Tape - Colorblock Quotes, this gives a wonderful colourful background to coordinate with the brightly coloured feather.  I also mounted one of the quotes on scrap card and raised it off the background using foam tape.


Put it all together and the finished card looks like this, bright, happy and colourful.


So if you're looking for a simple project to brighten up your day why not give this a go!

Back with more soon,
KatePin It

Wednesday, July 16, 2014

Doodling Over Printed Images with Copics

I thought that for today's post I'd give all of the nervous doodlers out there a hand and show you a straightforward project that looks stunning!  You can complete this page with just a few materials and with only a little experience and imagination.  Now this is quite a step-by-step project so grab your Copics and let's get started, because we are going to be creating this masked lady!


You Will Need:

  • Copic Multi Liners in 1.0, 0.5 and 0.3 
  • Copic Markers: 0 (Colorless Blender), C1, C3, BV0000, BV000, Y26, E47, E49, E00, E11, E21 and E23
  • Copic Airbrush (optional)
  • X-Press It Blending Journal or Blending Card
  • Magazine Image - Photocopied or Laser printed in black and white
    (ink jet printed images will not be suitable unless the ink in your printer is Copic safe)
  • Tracing paper
  • Soft lead pencil
  • Favourite Stencils or masks

Instructions:

Copy or print a black and white portrait onto Blending Card.  For mine I have scanned an image from a magazine advertisement and using a black and white laser printer, I have printed this directly onto a page in my Blending Journal.  You could also print onto a piece of Blending card and glue this into your journal later.  If you are a little more adventurous you could draw your own image or even use a face stencil as the basis for this technique.


Using your Multi Liner 1.0 outline the major facial features - you are aiming for a comic book style outline for this step.  Colour in and dark areas (nostrils and inside mouth) for a dramatic look.


Lay tracing paper over the face and plan a simple mask - the tracing paper allows you to draw and re-draw the mask until you are happy with it.  Once satisfied with your mask design, trace the image onto your face in pencil.  Go over the pencil with Copic Multi Liner and erase all signs of pencil marks once the ink is dry.  If not sure what to draw, Google filigree masks for interesting ideas.


Grab some of your favourite stencils and add stencilled designs to your image, you may like to use these on the hair, the mask or even the face!  You may like to draw outlines only or use the images to add design elements eg: a birdcage ear-ring!


Add as much or as little doodling as you like.  If you have a look at mine below you will notice I've used lots of repeating patterns and have varied the width of my lines for some added drama and to really draw the attention to the eyes.

Doodled Portrait

You can leave it like this or you can be brave and add a little colour - if you are nervous about ruining your art then either take a photo or scan your image, you can always print the black and white image onto card and start again!  If you have an airbrush this is a very quick way to colour the base layer of skin on large images (which is what I've done using E00, E11 & E21) you can also do this by hand if you don't have an airbrush.  Either way add as little ink as possible - you only want the skin to have a hint of colour.

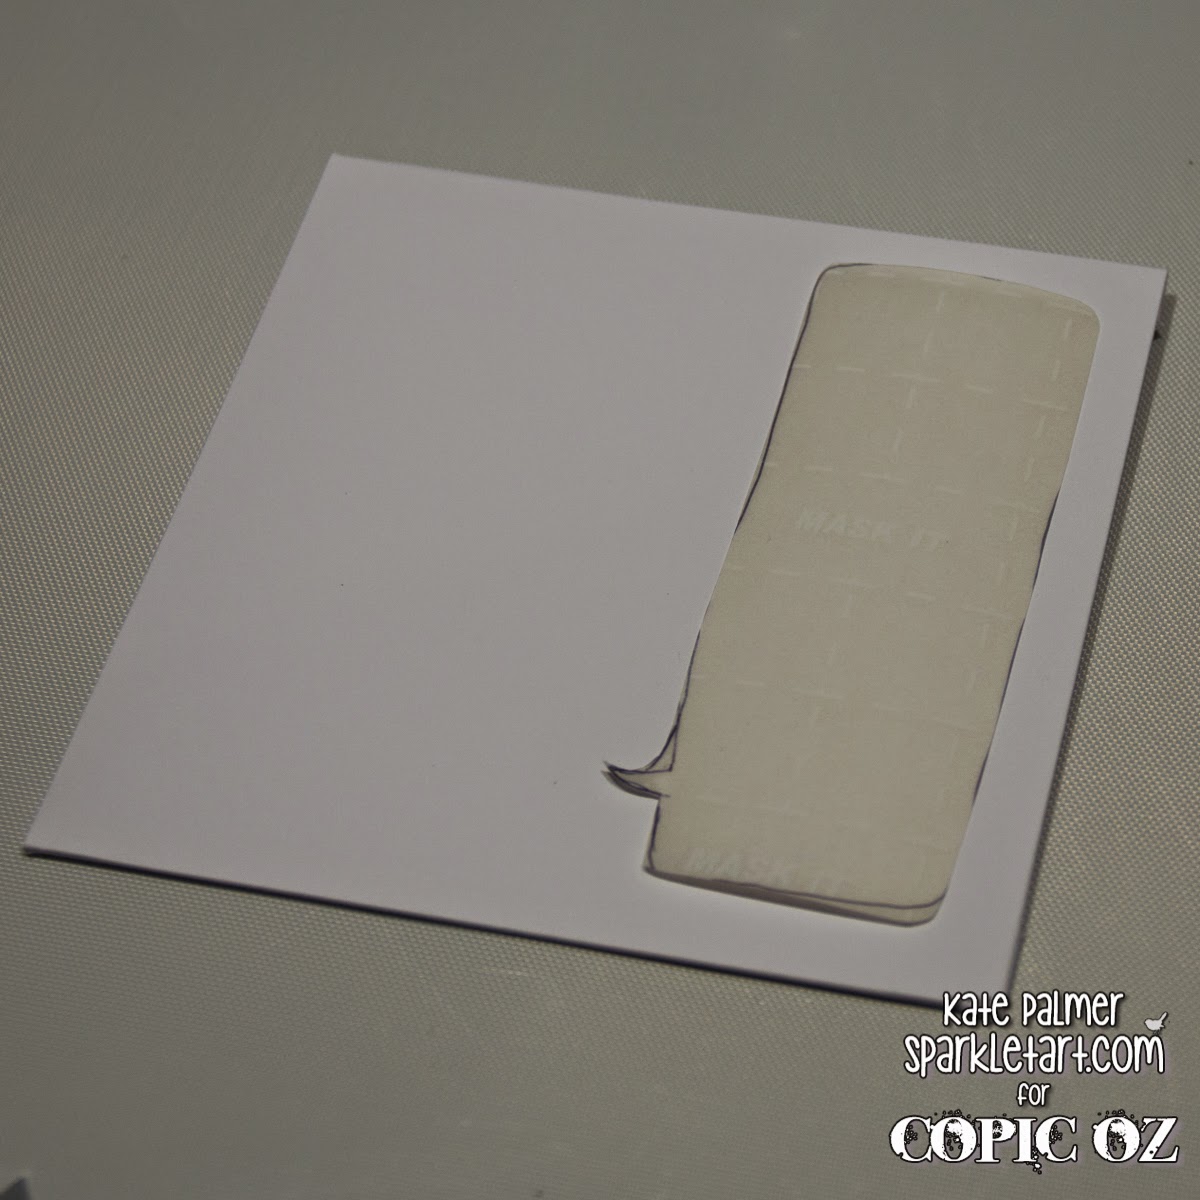
Use E00 to add a base layer of colour to the skin - I added an even layer all over the face and neck.  You might be able to see that I had cut a mask to go around the face and protect the background and hair - this made sure my airbrush work stayed clean and crisp.


Be guided by the shadows on the image and add E21 to these shadowed areas.


Finish colouring the skin by adding E11 into the shadows for a little extra depth, I've also added a little extra around the jaw and hairline.  If you are using a mask - you can remove it at this point.


Using BV0000, BV000, Y26, E49 and E47 - carefully colour the eyes - these are the focal point of the whole page so pay attention and colour carefully.


Add some grey to the mask to distinguish it from the face - just a little and keep it light.
I used C1 and C3 - blend with a little E00 if it begins to look a little too grey.


 As a final touch add E23 and E21 to the pattern on the neck and as shading around the eyes - really amp up the colour near the eyes.


You can immediately see that by colouring the eye area more heavily than the rest of the image, it really focusses your attention.  I've intentionally left the hair and background uncoloured to enhance the look of the face.  By keeping the colours to a minimum and using what is essentially a monochrome palette, I think it produces a softer look that is still appealing.


So while at first glance this project may look difficult and complicated, by taking things step-by-step I think this is something anyone can try!

Back with more soon,
Kate

PS- Make sure you pop back tomorrow morning to see if you were one of our lucky blog hop winners!!Pin It