You Will Need:
- Copic markers: Y06, BV11, B02, BG05 & RV06
- Copic Various Ink: Colorless Blender
- Copic Multi Liners: 0.3 & 0.5
- AtYou Spica: Turquoise, Clear and Pink
- Fab Scraps Stencil: Stars
- X-Press It: Blending Card and Mask It film
- Mini Mister bottle filled with Colorless Blender
- Black acrylic paint or gesso
Instructions
You can watch this being created on our YouTube channel or follow the instructions below.
Step 1: Gather some bright colour Copic markers, your favourite paper and Mask It film.
Fold card to create envelope.
Fold card to create envelope.
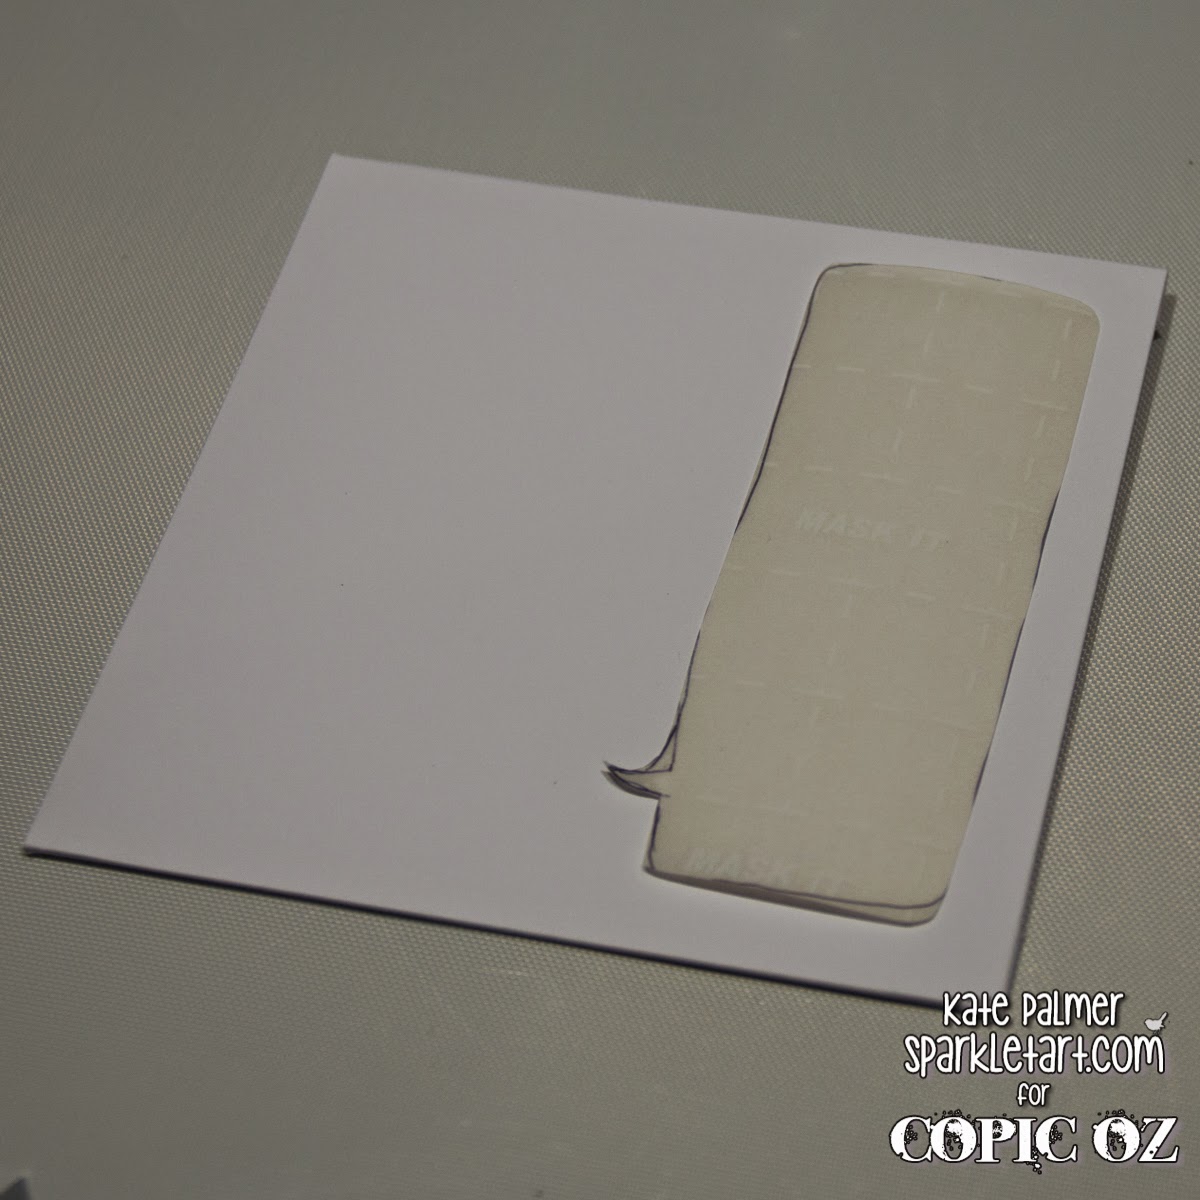
Step 2: Cut a speech bubble shape out of Mask It film and adhere to envelope.
Step 3: Using an Airbrush add BV11
Step 4: Add Y06
Step 5: Then add B02
Step 6: Add RV06
Step 7: Finally add BG05 to cover any remaining white areas.
Step 8: Lay star stencil over envelope and spritz with Colorless Blender, allow to dry.
Step 9: Draw design onto Mask It film (if drawing your own design make sure to
REVERSE it so your design turns out the correct way), cut out and apply to envelope.
Paint over envelope with black gesso or acrylic paint.
Step 10: Allow paint to dry for approximately 2 minutes and then carefully remove mask.
You will notice there are a few areas that need a little smoothing or filling in.
Step 11: Use Copic Multi Liners and Spica pens to fill in gaps, decorate and address envelope.
Once all the edges are smoothed and a little extra colour added, your unique mail art envelope is complete and will look something like this.
I'd love to see if you create any mail art with your Copic markers, please share your art on the Copic Australia Facebook page.
Kate
Pin It


This is really cool Kate!! So creative and artistic!! :)
ReplyDeleteThanks Kathy :)
Delete