Showing posts with label Christmas. Show all posts

Wednesday, December 10, 2014

Easy Typography for your Copic Projects

Today I'm going to let you in on a little secret - my lettering isn't always what I'd like it to be, so I CHEAT.  So in an effort to help all those other typographically challenged people out there, I'm going to share my secret formula for creating beautiful lettering on your cards, journals or scrapbook pages.

Two reliable ways to create beautiful typography:
  1. Use Word (or similar program) to create desired lettering, choose a outline only font, print this in very light grey using a laser printer.  You can trace straight over this printed word with Copics and if you are neat, no one will ever know you didn't write this yourself!
    NB: test your printer ink to make sure it is Copic safe before trying this, all laser printers are Copic Safe, only some ink jet printers have Copic safe ink.  For information on how to test your ink read this post.
  2. You learned this second method in Elementary/Primary School.  Print the word onto paper, flip the paper over and scribble on the back very heavily in soft lead pencil (eg: 2B), turn the paper back over place it over your project and then trace over the word - this transfers the carbon/graphite from the pencil creating a copy onto your card or page.
    NB: Only one thing you need to know here, tracing over pencil with Copic makes the pencil permanent - you can't rub it out later!  So this works best if outlining with black or dark coloured Copics that will hide the pencil lines.


I used the pencil trace method for the lettering on this project, as I knew I would be using black, which would hide the pencil lines.


For today's project, I will be printing directly onto my X-Press It Blending card and tracing over the printed text.


What I Used:

  • Copic Multi Liners: 0.3 Black, Turquoise, Pink, BS Cool Gray (Brush Tip)
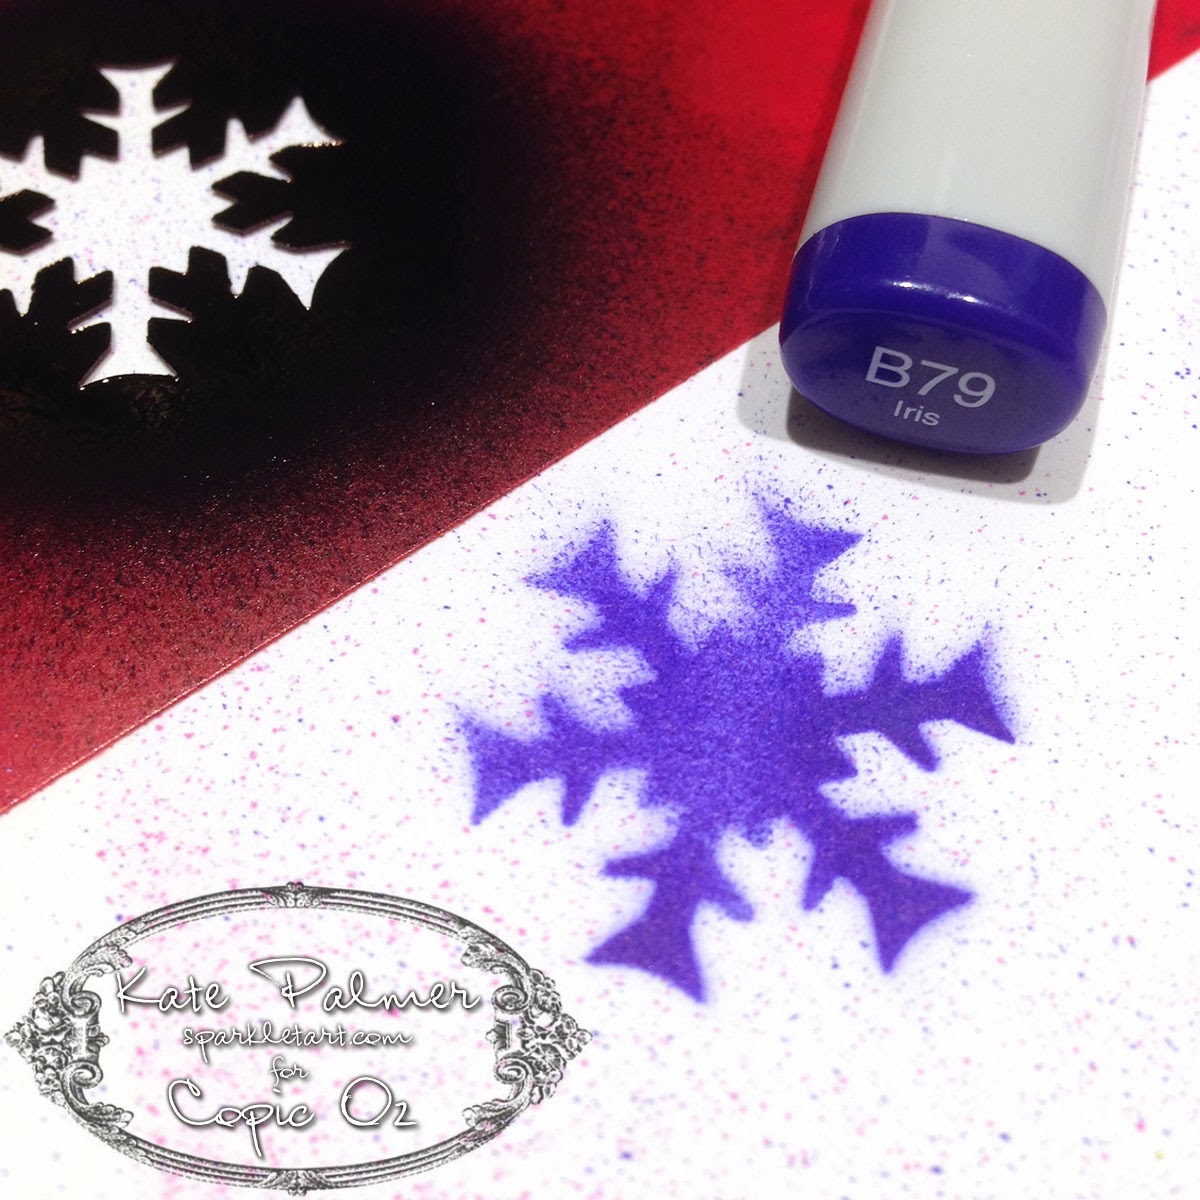
  • Copic Marker: RV09, BG32 & BG49
  • AtYou Spica: Turquoise & Pink
  • XPress It Blending Card
  • Font - Victorian LET

Begin by tracing over your printed outline with a black Copic Multi Liner - I used 0.3

Using your favourite coloured Copic Multi Liners add a little doodling, I started with Turquoise.

Then add a little pink, leaving quite a bit of white space.

Swap to some of those yummy sparkly Spica pens and add a little more doodling.

Finish by adding simple dots to fill the remaining white space - don't make all of your marks doodles, keep some marks simple so your design doesn't look too busy.

To make your design pop off the page,  edge your letters using a cool grey - I used the Copic Brush Tip Multi Liner for this as it has a wondeful precision tip.

To complete my card I needed some ribbon, sadly I didn't have a colour to match the Turquoise, so Copics to the rescue!  I coloured some white ric-rac with my Copic Marker BG32.

I had the same problem with the glitter on my tree, so once again I used my Copic Markers in RV09 & BG49 to recolour the glitter elements on my embellishment.

When you put it all together the finished Christmas card looks like this.


I hope this post has given you a few ideas about how you could incorporate Copics into your Christmas cards and create beautiful lettering on your Copic projects!

Back with more next year and wishing you all a very Merry Christmas!
Kate
Pin It

Wednesday, November 27, 2013

A Very Copic Christmas

Hi Kate here and this month I'll be showing you two very quick and simple Christmas projects that you can complete in under 30 minutes - yes that's both in under 30 mins with the help of a Copic ABS (Air Brush System).

The first project is some Copic decorated wrapping paper, this is a wonderful way to re-use the brown or plain paper that you receive during the year, wrapped around other items.  The same technique will work on paper, tissue and even cellophane - so save all that wrapping and create your own Copic coloured decorator papers.


For this project you will need:

  • Copic Sketch Markers in coordinating colours (I used: B79, RV66  & BG57)
  • Copic Air Brush System
  • Stencil or template (I used a punched snowflake)
  • Recycled paper, tissue or cellophane
  • Length of white ribbon
Begin by laying the stencil flat onto your paper and lightly spraying on the first colour (RV66) with the airbrush.  Move the stencil around, creating as many little Raspberry snowflakes as you like.


At this point you can continue to use the snowflake with the next colour (BG57) or you can use a different shape stencil for some variation.  Add as many Jasper (Blue Green) snowflakes as you like - just remember to leave some room for the 3rd colour.


Time to add the final colour, now B79 'Iris' is one of the stronger Copic colours, so spray this lightly and I didn't add as many snowflakes of this colour to my project, so as not to overwhelm the other colours.  Once finished adding snowflakes, put your paper aside to dry - this won't take long!


Now you don't HAVE to colour the ribbon to match - I just thought it was a cute accent.  For those of you who have coloured ribbon with your Copic Markers before you will know how long this can take and how much ink is used.  Well I'm happy to report that not only does colouring ribbon with the Copic ABS use much less ink, it's also loads faster and the results are beautiful!  All I've done here is airbrush the B79 onto the ribbon, I've added more ink to one side than the other so I will get a two-toned effect to the ribbon when I tie it.


And here is my Copic decorated wrapping paper and ribbon, cute, customised and quick!


Things to note:
  • When using small stencils like this one there will be some overspray (where the Copic ink sprays over the edge of the stencil onto your project), if you really don't want this, protect your project with scrap paper as you spray.  I didn't as I like the extra patterns it adds to the final piece.


For my second project I'm creating something slightly fancier - a stunning custom Christmas bauble. This really isn't as difficult as you may think - just don't drop it!


For this project you will need:


  • Copic Sketch Markers in coordinating colours (I used: B79, RV66  & BG57)
  • Copic Air Brush System
  • Snowflake Die
  • Mask It - masking film
  • Clear glass or plastic bauble
  • X-Press It Clear Gel Glue
  • Silver Glitter
  • Sticky tape and tissues

Begin by using your favourite die cutting system to cut some snowflakes from a sheet of Mask It film - this film has a sticky layer on one side making it a removable adhesive.  Today we won't be using the die cut shape, but rather the surrounds!   I cut 3 negative shapes to use - you may like to use more.


Remove the backing layer from the Mask it shapes and adhere the sticky negative shapes onto the bauble, you may need to cut them in 2 to fit onto the rounded surface - I also overlapped the pieces a little.  I then used sticky tape to attach some tissues to protect the rest of the bauble and keep it from being coloured.  Using my airbrush I have added a layer of BG57 as a base colour.


With the mask still in place add some of the RV66 - don't colour the whole thing, just add this to a few edges and maybe a little in the centre - remembering to leave space to add the 3rd and final colour.


Go ahead and add the last colour, I'm using a particularly dark colour B79 so am adding only a little!


Remove the tissue and repeat this whole colouring process, around the bauble until all of your die cut shapes have been coloured.


Remove the tissue and the Mask It and your project now looks something like this.  You might choose to leave it like this is you don't like glitter.


For my final step I have dribbled X-Press It Clear Gel Glue around the top of the bauble and let it drip down the sides a little - now this is very thick and needs some encouragement to drip.


While glue is still wet shake your favourite colour of glitter over the top and then hang somewhere safe and leave overnight to dry.  Once dry brush off any excess glitter and it's ready to use.


Wishing you all a very Merry Christmas (just a little early) and a wonderful new year...

Kate 

Enhanced by Zemanta
Pin It