Showing posts with label copic journal. Show all posts

Wednesday, September 10, 2014

Layering Copic Colours to Create a Beautiful Night Sky Effect

I'm back this week with another idea with many uses - layering your Copic colours, for a beautiful though abstract result.  I often hear Copic beginners expressing their frustration with learning to blend, well while you are mastering blending why not play with layering.  Layering colours is much easier, gives interesting and unexpected results and can be used on many projects.  I have used this to create a journal page, but you could easily use this as an amazing way to colour clothing on a stamped image, create a beautiful name tag, a stunning background or anything else you can think of!

For this page I have used:
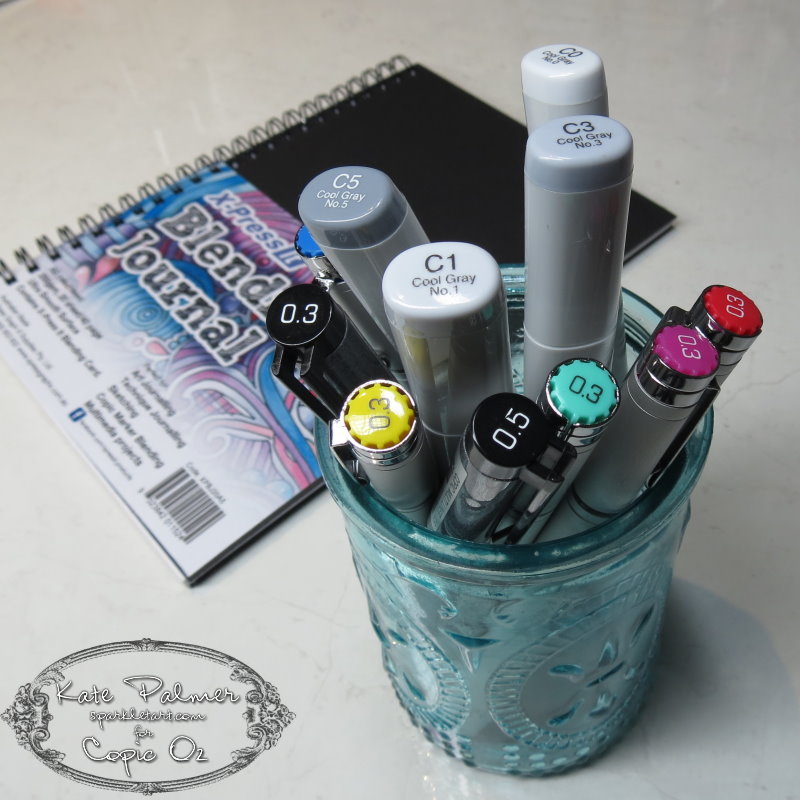
  • X-Press It Blending Journal
  • Copic Markers: Colorless Blender '0', N0, N1, N3, BG11, B13,  B69, B79, RV06, RV09, BG94, B97 & B99
  • Molotow Extra Fine Paint Marker

 To create this page:

Start by stamping, printing or writing onto the lower right of your page.


Using very pale Neutral Grey (or Cool Grey) colours roughly draw the outline of a hole onto your page.  This will be used as a guide for the final step so don't spend too much time on this.


Next add BG11 and BG13 and blend slightly - just enough so the colours look smooth.


Add B69 and then darken using B79.
Where the B69 borders the BG11 or BG13, pounce the BG11 over the darker colour - this will make the darker blues go a little mottled and cloudy and add some of the aqua into the blue.


Add a hint of RV06 and darken with RV09.
Where the Cerise borders the blue, layer RV09 over the blue, while these colours will not blend, a little of the Fuchsia will be introduced into the blue.  In doing this, you are introducing a hint of one colour into another - your finished result will be much nicer.


Then use BG49 to add a little more depth - I have used it to create something of a pattern.


Darken the image by layering B97 and B99, both over and around the existing colours.  I've also used these to outline my 'hole' in the paper.


Continue to add more layers (using the method of pouncing one colour over another where 2 dissimilar colours meet) and fill in any pale spots with the colours you have already used.  I have tried to create patterns that look vaguely cloudlike (you could refer to photos of the night sky for ideas if you like).
To finish I have used B79 and B99 to add fine lines and outlines to some of the patterns.


Flick paint from the tip of a Molotow Paint marker over your coloured image and carefully draw some starbursts.  Leave to dry.


See how the white paint really makes the colours 'pop'.


To finish the page scrunch up some paper, tear a hole to match what you have drawn  (this is a tiny bit fiddly) and roll back the edges of the paper around the hole.  To make sure this stays exactly as is, glue down the rolled paper pieces.


Between the starkness of the white page and the depth of colour, this really leaps out at you.  This is a really simple way to use colours that don't naturally go together, just remember to keep layering until you are happy with the result and pounce one colour over another so that there are no harsh edges.

Hoping you all have a wonderfully creative week,
KatePin It

Wednesday, June 11, 2014

Combining Watercolour Pencils with your Copics

Today I'm having a play and combining my Copic Markers with some of my new Bruynzeel Design Aquarel (Watercolor) Pencils to see what happens! I'm hoping I can create a finished piece that is subtly coloured and allows me to use the translucency of watercolours to enhance my Copic coloured image. Now this project could end up as a card front, journal page or even a framed piece - the choice is yours.
To create this you will need:
  • X-Press It Blending Journal or X-Press It Blending Card
  • Copic Markers:  Blender, YG0000, YG00, YG01, Y06, Y08, C1, C3, YR27, YR68, YG61 & YG63
  • Copic Multi Liners: 0.3 Yellow & 0.3 Cool Gray
  • Spica AtYou: Clear and Gold
  • Bruynzeel Aquarel (Watercolor) Pencils: 59, 55 & 61 and the fine brush included in the box
  • Molotow Paint Marker White - any size

Begin by choosing an interesting flower and tracing this onto your paper, try to make your pencil lines as light as possible.


Go over image with your Multi Liners and erase the pencil marks.


Add in the areas of darkest colour to the flower center using YR27.


Add YR68 next to and on top of the darker orange - the center of the flower will be brightly coloured using heavy contrast of colours so that the image pops.


Colour all the center elements of the flower using Y06 - leave the tips white as in the original photograph.


Add Y08 to the base of the central petals for some depth and shading - don't worry too much about blending for this central section as you want it to be stark and draw your eye.


Begin adding colour to the outer petals using YG0000, start colouring from the center of the flower and sweep the colour towards the outer edge - without colouring the entire petal - the edges should remain white.

Next use C1 to add a little grey shadow close to the center and on any areas of petals where there is shadow - check the original image if in doubt.


Darken the shadowed areas with C3 as needed.


Next I've used the tip-to-tip technique to apply some darker orange (YR68) mixed with grey (C3), for some dirty shadows around the central yellow petals, as the orange by itself was far too bright. 


Next Add YG01 to the base of each of the outer petals (it's at this point you should begin to blend a little).


Add a little YG00 to the petals for a smoother blend.


And use the YG01 to darken some of the outer petals.


Use YG61 & YG63 to add some detail


Then go over all the outside edges of petals using the Colourless Blender to fade the colour back a little.  Don't colour right to the middle just the outside 1/2 of each petal where the colour fades to white.


Next I'm adding a little of the purple (61) watercolor pencil as a paint, by scribbling on some scrap paper and picking up the colour with a wet brush, then painting directly over the Copics.  I've done this to add a little drama into the image.  The blending card is quite thirsty, so you will end up with some darker areas if using the pencil this way.


Next I've used some dark blue and green (59 & 55) to add some detail to the image - I have used these as pencils for this step and drawn directly onto my image.  I've also added  little Gold and clear Spica onto the central petals.


For the final step I have used some of the paint from my Molotow white marker (scribble onto some plastic and pick up the paint from there) and painted this onto my image with a wet paintbrush - this adds a transparent chalky layer onto the flower and lightens the purple and greens, letting the colour sink into the background - if you prefer the highly coloured image - skip this last step.


The finished flower has colours with the translucency of watercolours, the detail of a sharpened pencil and the richness of copic markers!


The finished result uses quite a bit or artistic license with the final colours but is super soft and pretty.


I hope this inspires you to combine some of your other art materials with your Copic markers in the future.

Back soon,
Kate P.Pin It

Wednesday, August 7, 2013

Copic Art Journaling #3: Learning to doodle


Hi All - it's my turn to share some more ideas with you all to use in your Copic Art Journal, and this week I'm hoping to inspire you to try your hand at doodling.. 

There are many types of doodling, there is the increasingly popular Zentangling, there is tangling, there is Stentangling, and there are doodles - Phew no wonder people get confused!  Today I am talking about simple doodling, this is often quick, fun and once you begin it's difficult to stop.
Whether you know it or not, most of us doodle without even realising it.  It can be as simple or as fancy as you like, the doodle itself can be the art or it can compliment the art. My job today is to give you some ideas so you can begin to incorporate these little drawings into your Copic Art Journal - or any art.

These are the basics that you will need to begin doodling in your Copic Art Journal:
  • Copic Multi-Liners in a variety of sizes and colours 
  • Set of Grey Copic Markers either: T0, T1, T3, T5 or N0, N1, N3, N5  for adding shadows
  • XPressIt Blending Card or the XPress It Blending Journal
  • Rubber stamps with an open design
  • Stencils with an open design
  • Your imagination!

WHAT TO DOODLE?

What is a doodle anyway?  Wikipedia defines a doodle as:  'an unfocused or unconscious drawing made while a person's attention is otherwise occupied. Doodles are simple drawings that can have concrete representational meaning or may just be abstract shapes.'

But where do you start - what should YOU doodle?  This is a tough one as doodling is very personal, I can tell you I love to doodle circles, lines and floral patterns - but these designs may not be interesting to you.  I sometimes doodle images, other times I just doodle shapes or patterns - it's all doodling.  The easiest thing to do is to look around you, can you see a pattern a shape that you like - then try doodling those or drawing them and doodling within those shapes.  It's much easier to do if you draw something you like.

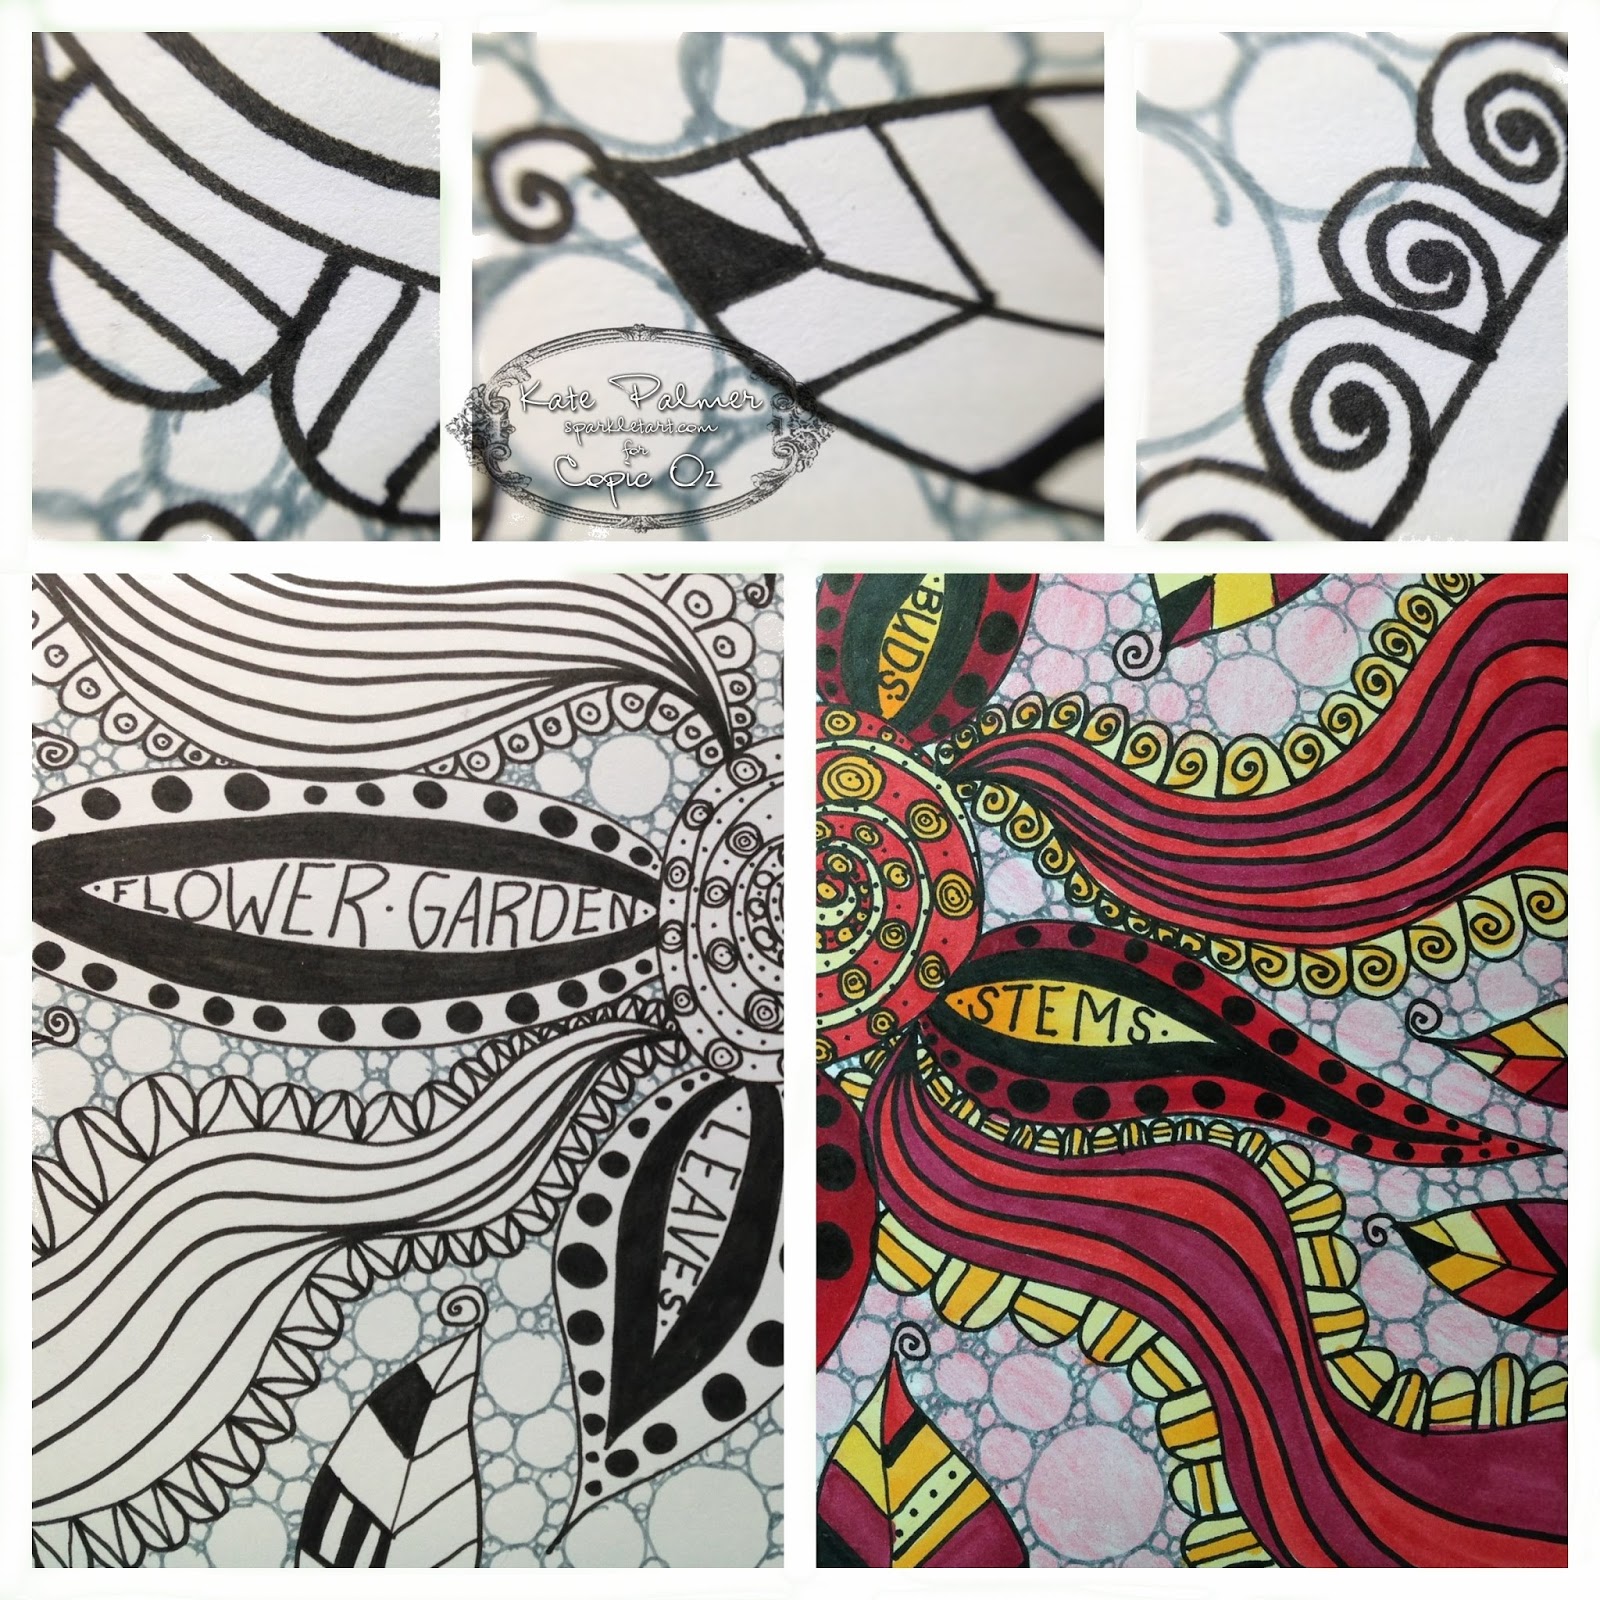
Here are a few ideas, simple things I doodled with my 0.5 Copic Multi Liner while watching TV, see they don't have to be amazing!  If you need a bit more inspiration you can check out  my 'Doodles' Board over on Pinterest.  To find your doodles try drawing some squares (about 5cm x 5cm) and just draw little doodles within these, then use these on a larger scale.  These simple doodles, look more interesting when viewed as a whole and even better coloured with Copics!  The joy of doodles is that they can be as simple or as complex as you like.

This is where I got really excited about doodling, with a little colour and a bit of confidence, you can easily incorporate your doodling into whatever art or craft you already create, why not doodle on small pieces of card stock and turn these into the main element on a card, or bookmark or even framed art, or doodle designs around your photos on your scrapbook pages.  Once you begin the possibilities are endless.

WHERE AND HOW TO USE DOODLES?

Give these ideas a go.....

Doodle on Stamped Images

Using a Copic safe ink like Memento, stamp your image onto your card or journal.
Add doodle designs with Copic Multi Liners to part or all of your stamped image, here I've doodled designs onto Marci's Kimono to add a pattern.  Whether your image is stamped, collaged or drawn, this is a fun way to add a little whimsy to your art.  Try a doodle hair-do, or doodles on a dress, even a doodle body to draw attention to the focal image.


Use Stencils to create a doodle pattern

Using your Copic Multi Liner (I like Grey or Black) use a stencil to draw a pattern onto your card or journal.   Using the pen of your choice, fill in around the pattern or within the pattern (or both) with doodle designs.    Leave it as is or add colour if desired.   Use your doodled designs to decorate planners and diaries or filing folders.  I can't be the only person who still uses a diary or smash book!  Get to it and start dressing up your dividers with a doodle or two, come to think of it you could apply this to your files for work or home, address books, recipe cards etc.

Doodle Within or Around Letters or Images

Using your Copic Multi Liner draw bold a capital letter (or word) with space inside the letters to add doodling or colour.  Use your favourite supplies to add doodling either within the letters or around the letters, again coloured or uncoloured the choice is yours.  On a more manageable scale, this would make wonderfully fun and personal name tags or place tags for weddings and parties!


Doodle Within Shapes (or get fancy and have the doodle create the shape)

Here are 2 examples of what I mean:
1. Try drawing a heart (or a few) and adding doodling within or around the shape to embellish it, smaller shapes are best with single patterns, larger shapes can handle a few different patterns at once.  Now I chose a heart, you may prefer a flower, a circle, an animal - pick a shape and have a play.  You can use these simple doodles on cards or page backgrounds, and it's all drawn by you - so an original piece of doodle art! 


2.  Draw your heart in pencil and doodle around or within it, then rub out the pencil - your designs create the shape,  I really do love the Copic Multi Liners for this, the coloured ones in particular.   Now just a note here, if you draw over lead pencil with either Copic markers or Copic Multi Liners, then the pencil covered by the Copic will not erase - strange but true.


Doodle Backgrounds

Enhance your art by using doodles and doodle patterns in your backgrounds, a little or a lot it's up to you - just make sure you are using pens which won't bleed if you decide to colour over the top - I love the Copic Multi Liners for just this reason - they are life proof!  When you are feeling a bit more confident, try creating scenery with doodles or using doodles as your art.  Doodles aren't just 'unconscious drawing' anymore - they are now entering the realm of DOODLE ART.  
Face coloured with Copic markers, fine details added with coloured pencils,
 hair coloured with Silks - all doodling created using 0.3 & 0.5 black Copic Multi Liners.

Do you you remember the doodle right from the beginning of this post - the one I drew while watching TV?  This is what I used it for, I added a little stenciling, some gold foil, stamping, black paint and white Molotow marker and turned it into this, even the simplest doodle can turn into something special.

    May your day sparkle and happy doodling,
    Kate
    Enhanced by Zemanta
    Pin It

    Wednesday, July 10, 2013

    Art Journal #1 Creating Backgrounds

    Hello and welcome to the first in our series of posts all about creating in your Copic Art Journal!  I have received quite a few questions since posting my first Copic coloured Art Journal Page, lots of people saying they didn't have the time to doodle and colour, others saying an all Copic page would use too much ink!  Well I'm here to tell you that colouring the whole page with markers isn't the only way to use Copics in your journal.  To give you all a little head start, today I'll show you 5 simple techniques that you can use to create Copic backgrounds in your journal and then I will be creating a page using these techniques to show you how it could look.  I am working in my fabulous X-Press It Copic Blending Journal as it is created with Copic blending card and perfect for Copics and journaling!


    Technique 1: Spritzing with Copic Ink 

    You can do this in one of 2 ways, add Copic Various ink to a mini mister and spritz (the colours will be quite strong and you will use a fair bit of ink) or what I've done here, pick a strong colour (eg Black 100) and add 3 drops to a mini mister bottle followed by 3mL of Copic Colorless Blending ink (if you look on the side of the Various reinkers it is marked in mL to make it easy).  If you push the pump nozzle quickly you get a fine even mist, if you push slowly you get a splattered look, you can see both below.

    Spritzing


    Technique 2: Stencilling  with Copic Ink 

    Use the same ink and blender mixture as from Technique 1 and use this to mist through stencils - don't spray too close to the stencil or liquid can seep underneath and make sure you are working in a well ventilated room.

    Stencilling

    Stencilling


    Technique 3: Copic Various Ink drips

    This is one we usually try not to do, but today you are going to tilt your card and add drips of Copic Various ink straight from the bottle, the resulting colours are quite strong, so use this sparingly.

    Drips 1


    Technique 4: Copic Various Ink drops

    Something else we usually avoid, drip Copic Various ink onto a non-stick surface, add a drop of Colorless Blender  to each drop and plop your project right onto the spots face down, you will create uneven blobs of colour.

    Trust the Mess Copic Journal Page 4 wm


    Technique 5: Stamping with Found Objects

    Grab any non-porous object (plastic, glass or china etc) use the chisel tip of your Copic marker to colour the surface, spritz your card with Colorless Blender and then firmly press the inked part of your object onto the wet card.  More blender = wetter card = more wicking of the ink, where as less blender = crisper image.  You can try this with jars, lids, leggo, toys etc.

    Trust the Mess Copic Journal Page 10 wm

    Found object stamping

    and these are the techniques I just showed you, being used to create my Art Journal page ...

     Mask edges of page with low tack tape, spray page with your favourite sparkly spray, let dry then then spritz page with Copic ink (Black 100 + Colorless Blender) - see you can combine sparkles and Copics!

    Trust the Mess Copic Journal Page 3 wm

    Use same Copic ink in mister bottle to add some stenciled words or patterns.

    Trust the Mess Copic Journal Page 3 wm

    Add drips of Various ink (BG15) directly to the page and add drops of ink as described previously (I used BG49 and BG15).

    Trust the Mess Copic Journal Page 6 wm

    Use jar and plastic lid to add stamped impressions, I coated objects with E29.

    Trust the Mess Copic Journal Page 6 wm

    Use old Copic Multi Liner Brush marker size M to stencil on some words, the stencils are hard on the marker nibs so don't use your best brush marker for this.

    Trust the Mess Copic Journal Page 6 wm

    Trust the Mess Copic Journal Page 6 wm

    Use 4B pencil to add shadows to lettering.

    Trust the Mess Copic Journal Page 12 wm

    Stamp Flourishes images from Magnolias and Hydrangea sets, using Mememto ink in Bamboo Leaves & Rich Cocoa and colour with pencils.

    Trust the Mess Copic Journal Page 12 wm

    Remove masking tape - there will be gorgeous little runs and specks of colour.

    Trust the Mess Copic Journal Page 12 wm

    and you have created something like this, if you look you can see all of those techniques used on this one page..

    Trust the Mess Copic Journal Page 12 wm

    I hope you have a great time trying these techniques for yourself, remember art is supposed to be fun so dive in and give Copic Art Journaling a go!

    Kate
    Enhanced by Zemanta
    Pin It